
DIY Car Paint Touch-Up: A Step-by-Step Guide to Minor Repairs


Understanding the Basics of Car Paint Touch-Up
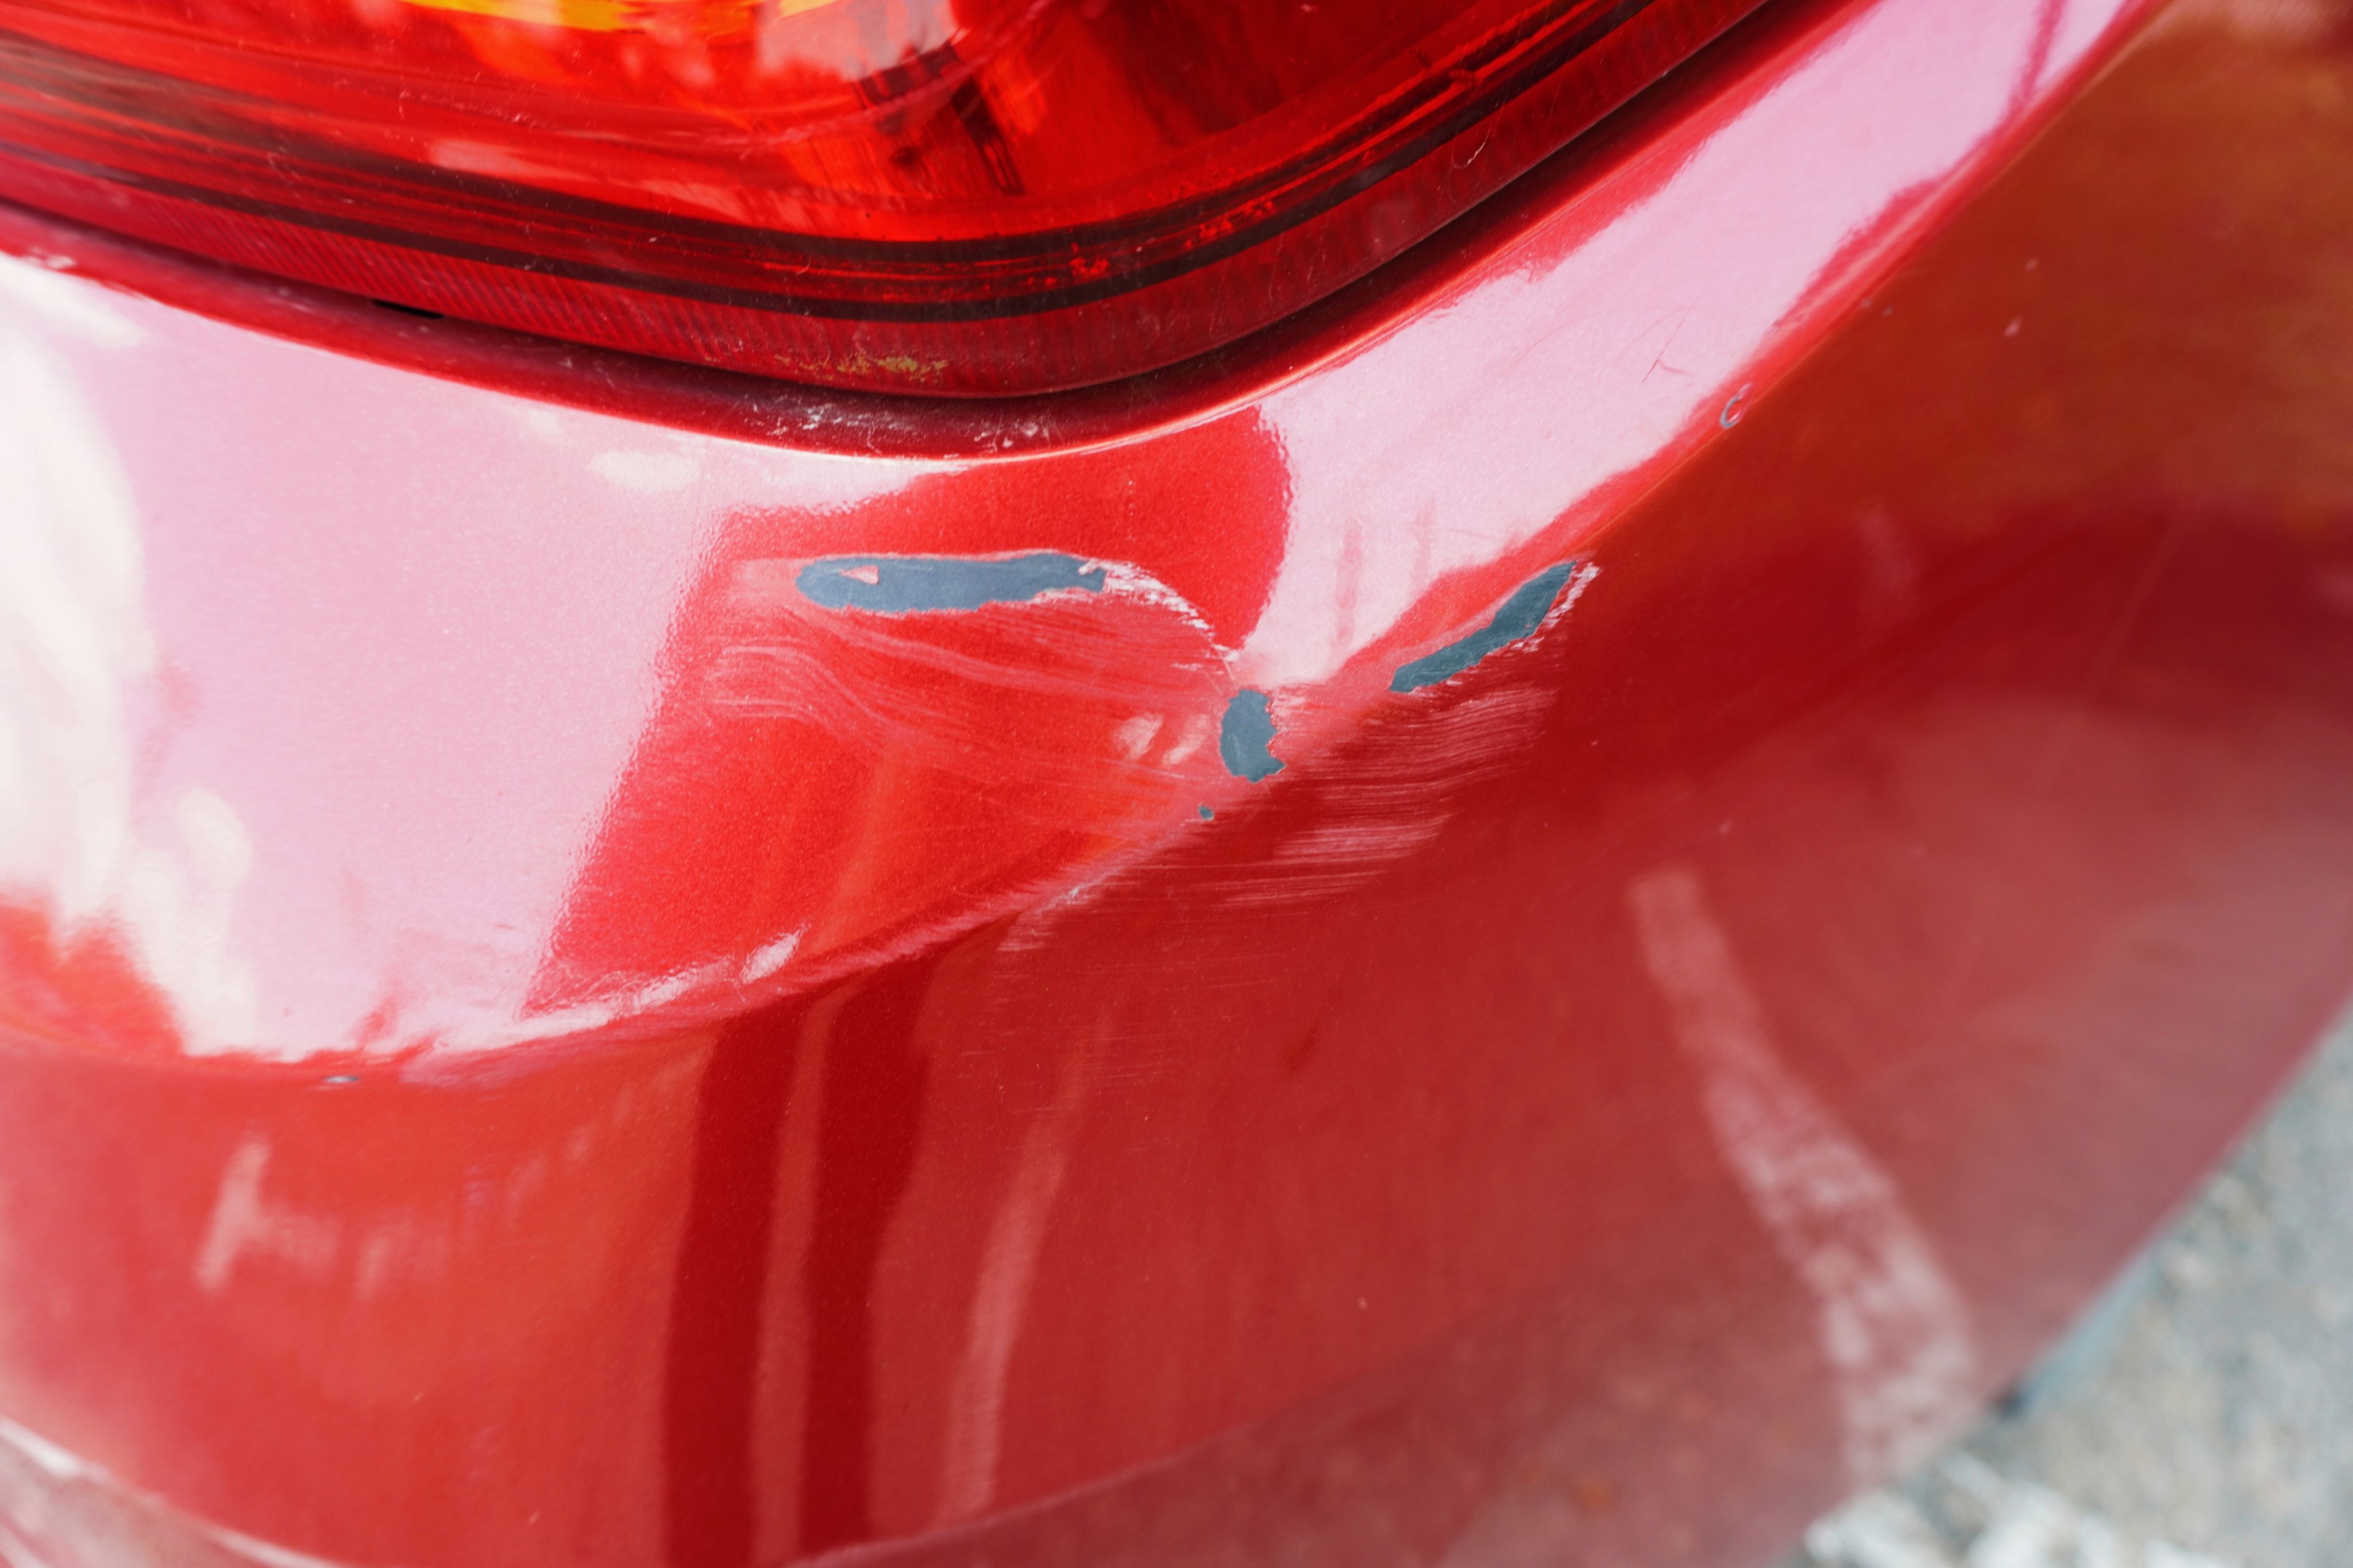
Minor scratches and chips are a common occurrence for car owners. While they might seem insignificant, these blemishes can lead to rust and further damage if not addressed. Fortunately, a DIY car paint touch-up can be a simple and cost-effective solution. By following this step-by-step guide, you can restore your car’s appearance and protect it from future harm.
Gathering the Necessary Materials
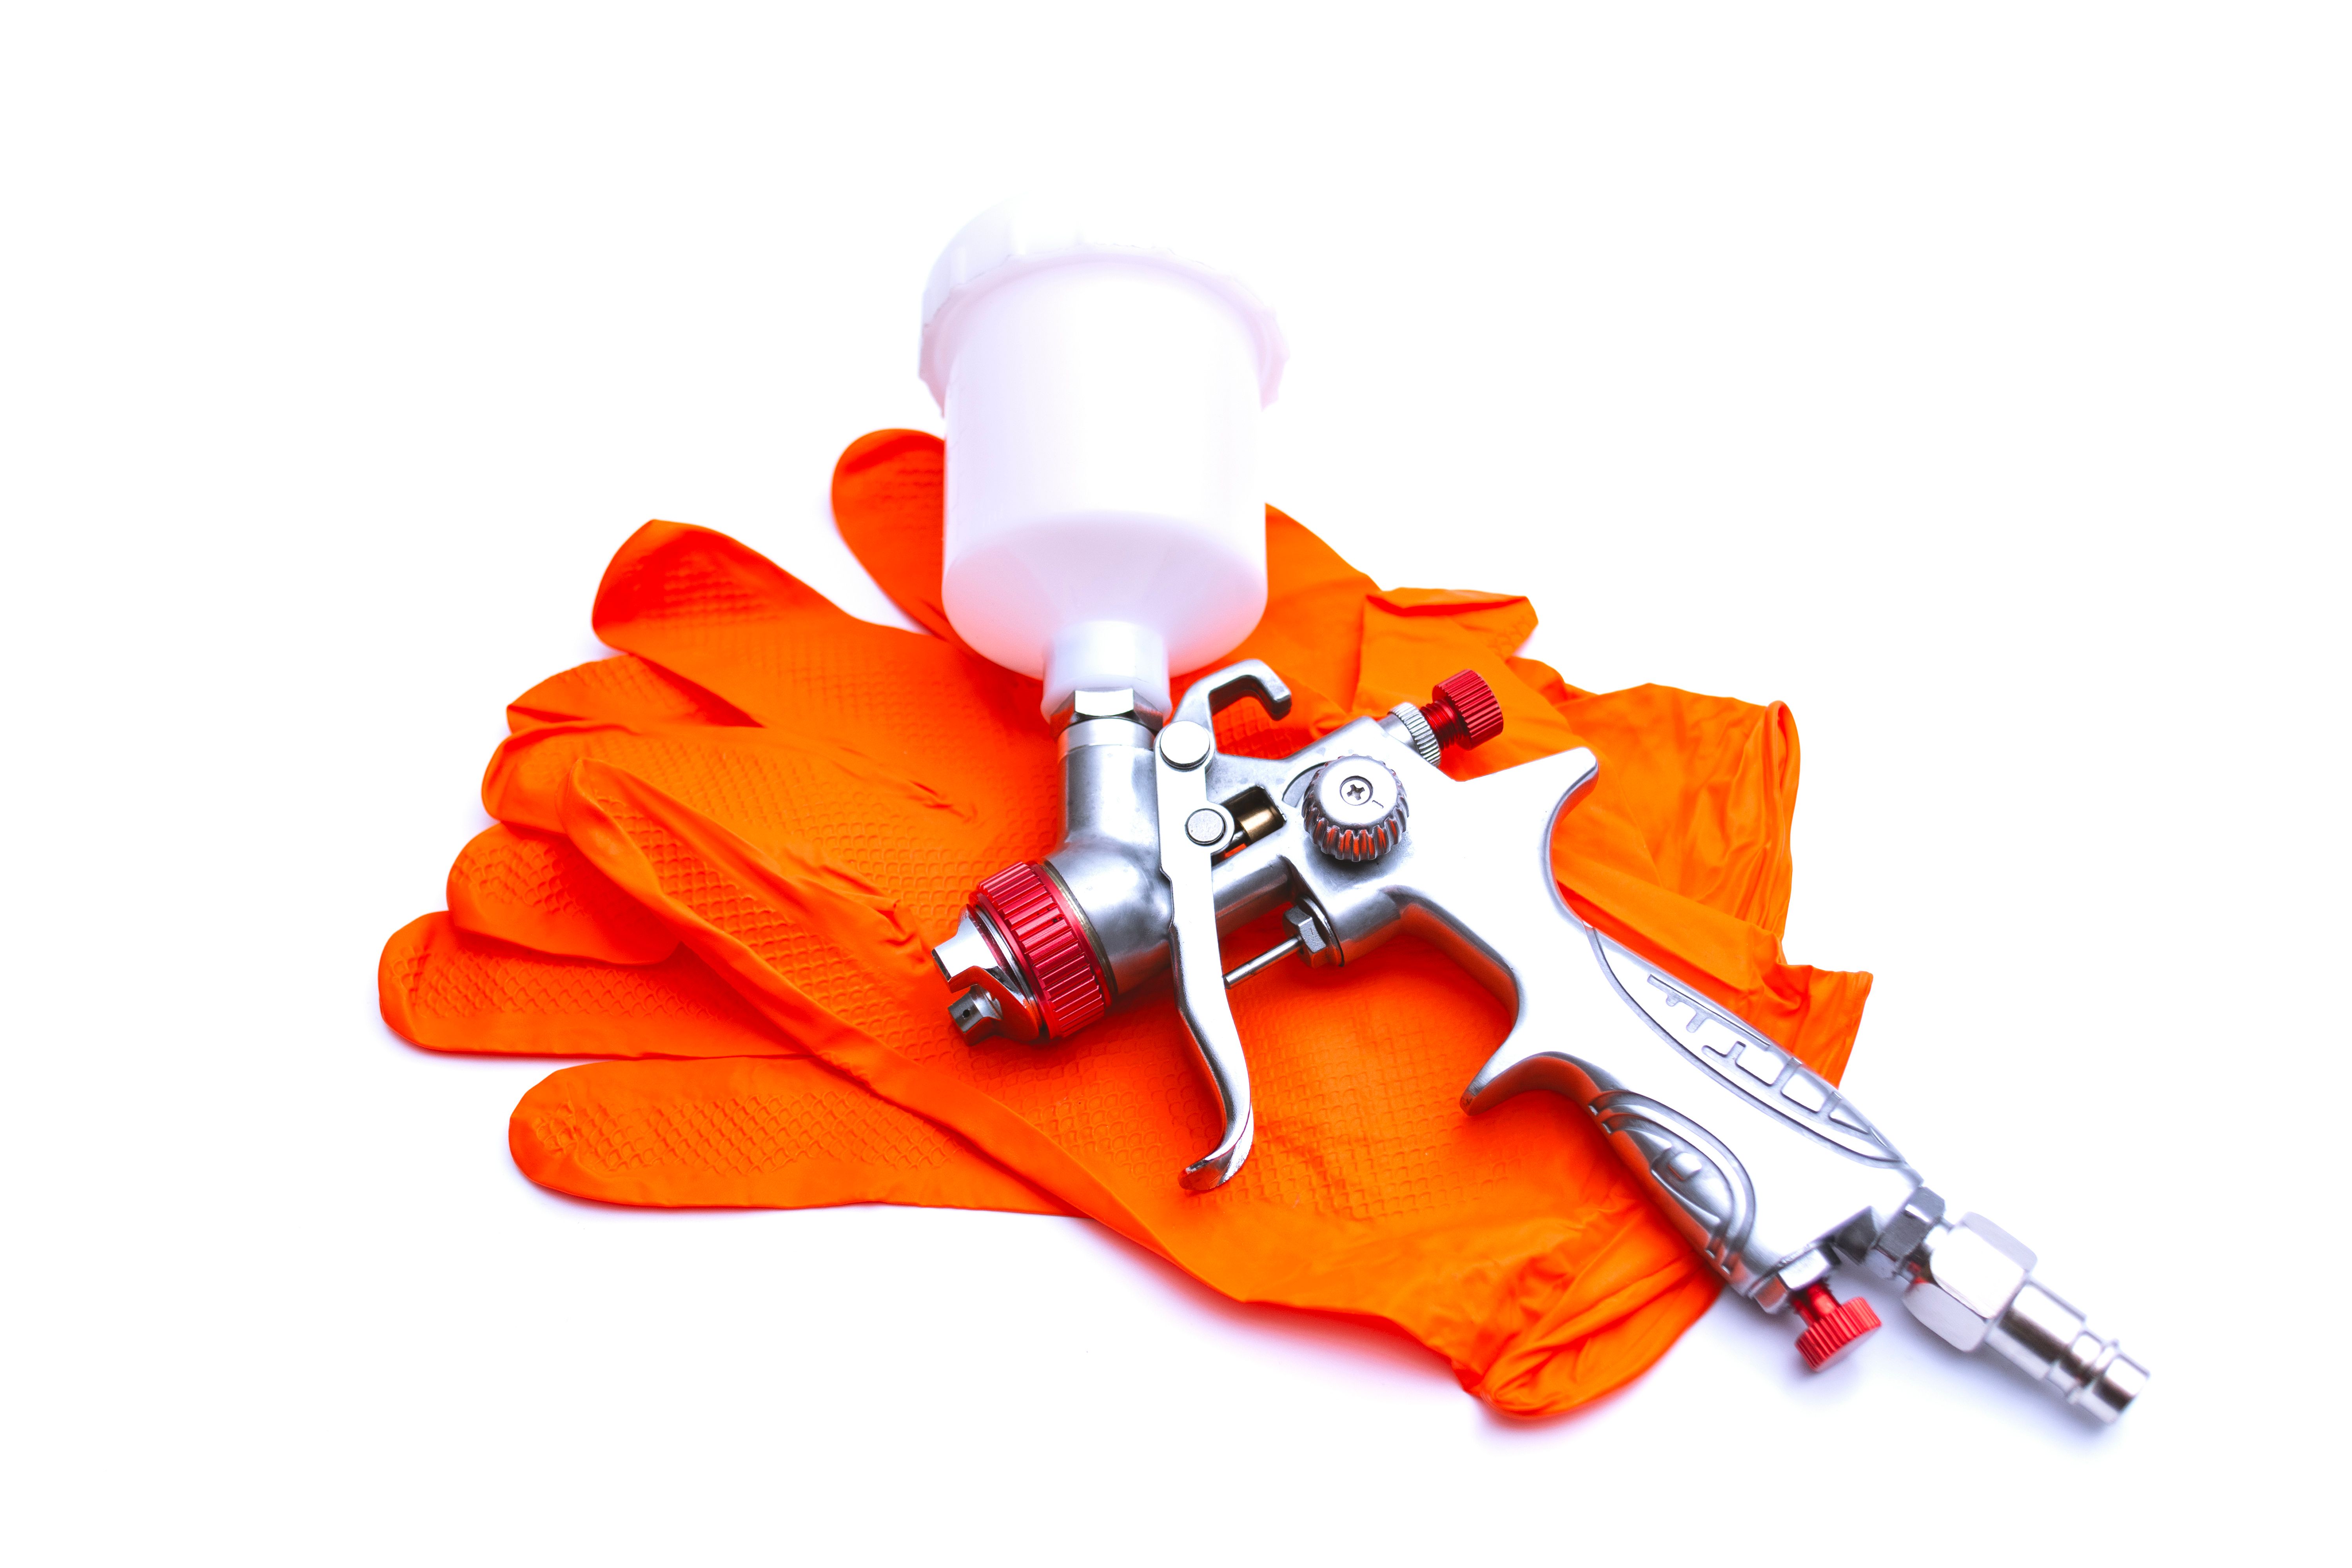
Before you begin, it's crucial to have all the necessary materials on hand. You will need:
- Touch-up paint that matches your car's color code
- Clear coat for a glossy finish
- Fine-grit sandpaper
- Rubbing alcohol or a similar cleaning agent
- Microfiber cloth
- Small paintbrush or applicator
Having these materials ready will ensure a smoother and more efficient process.
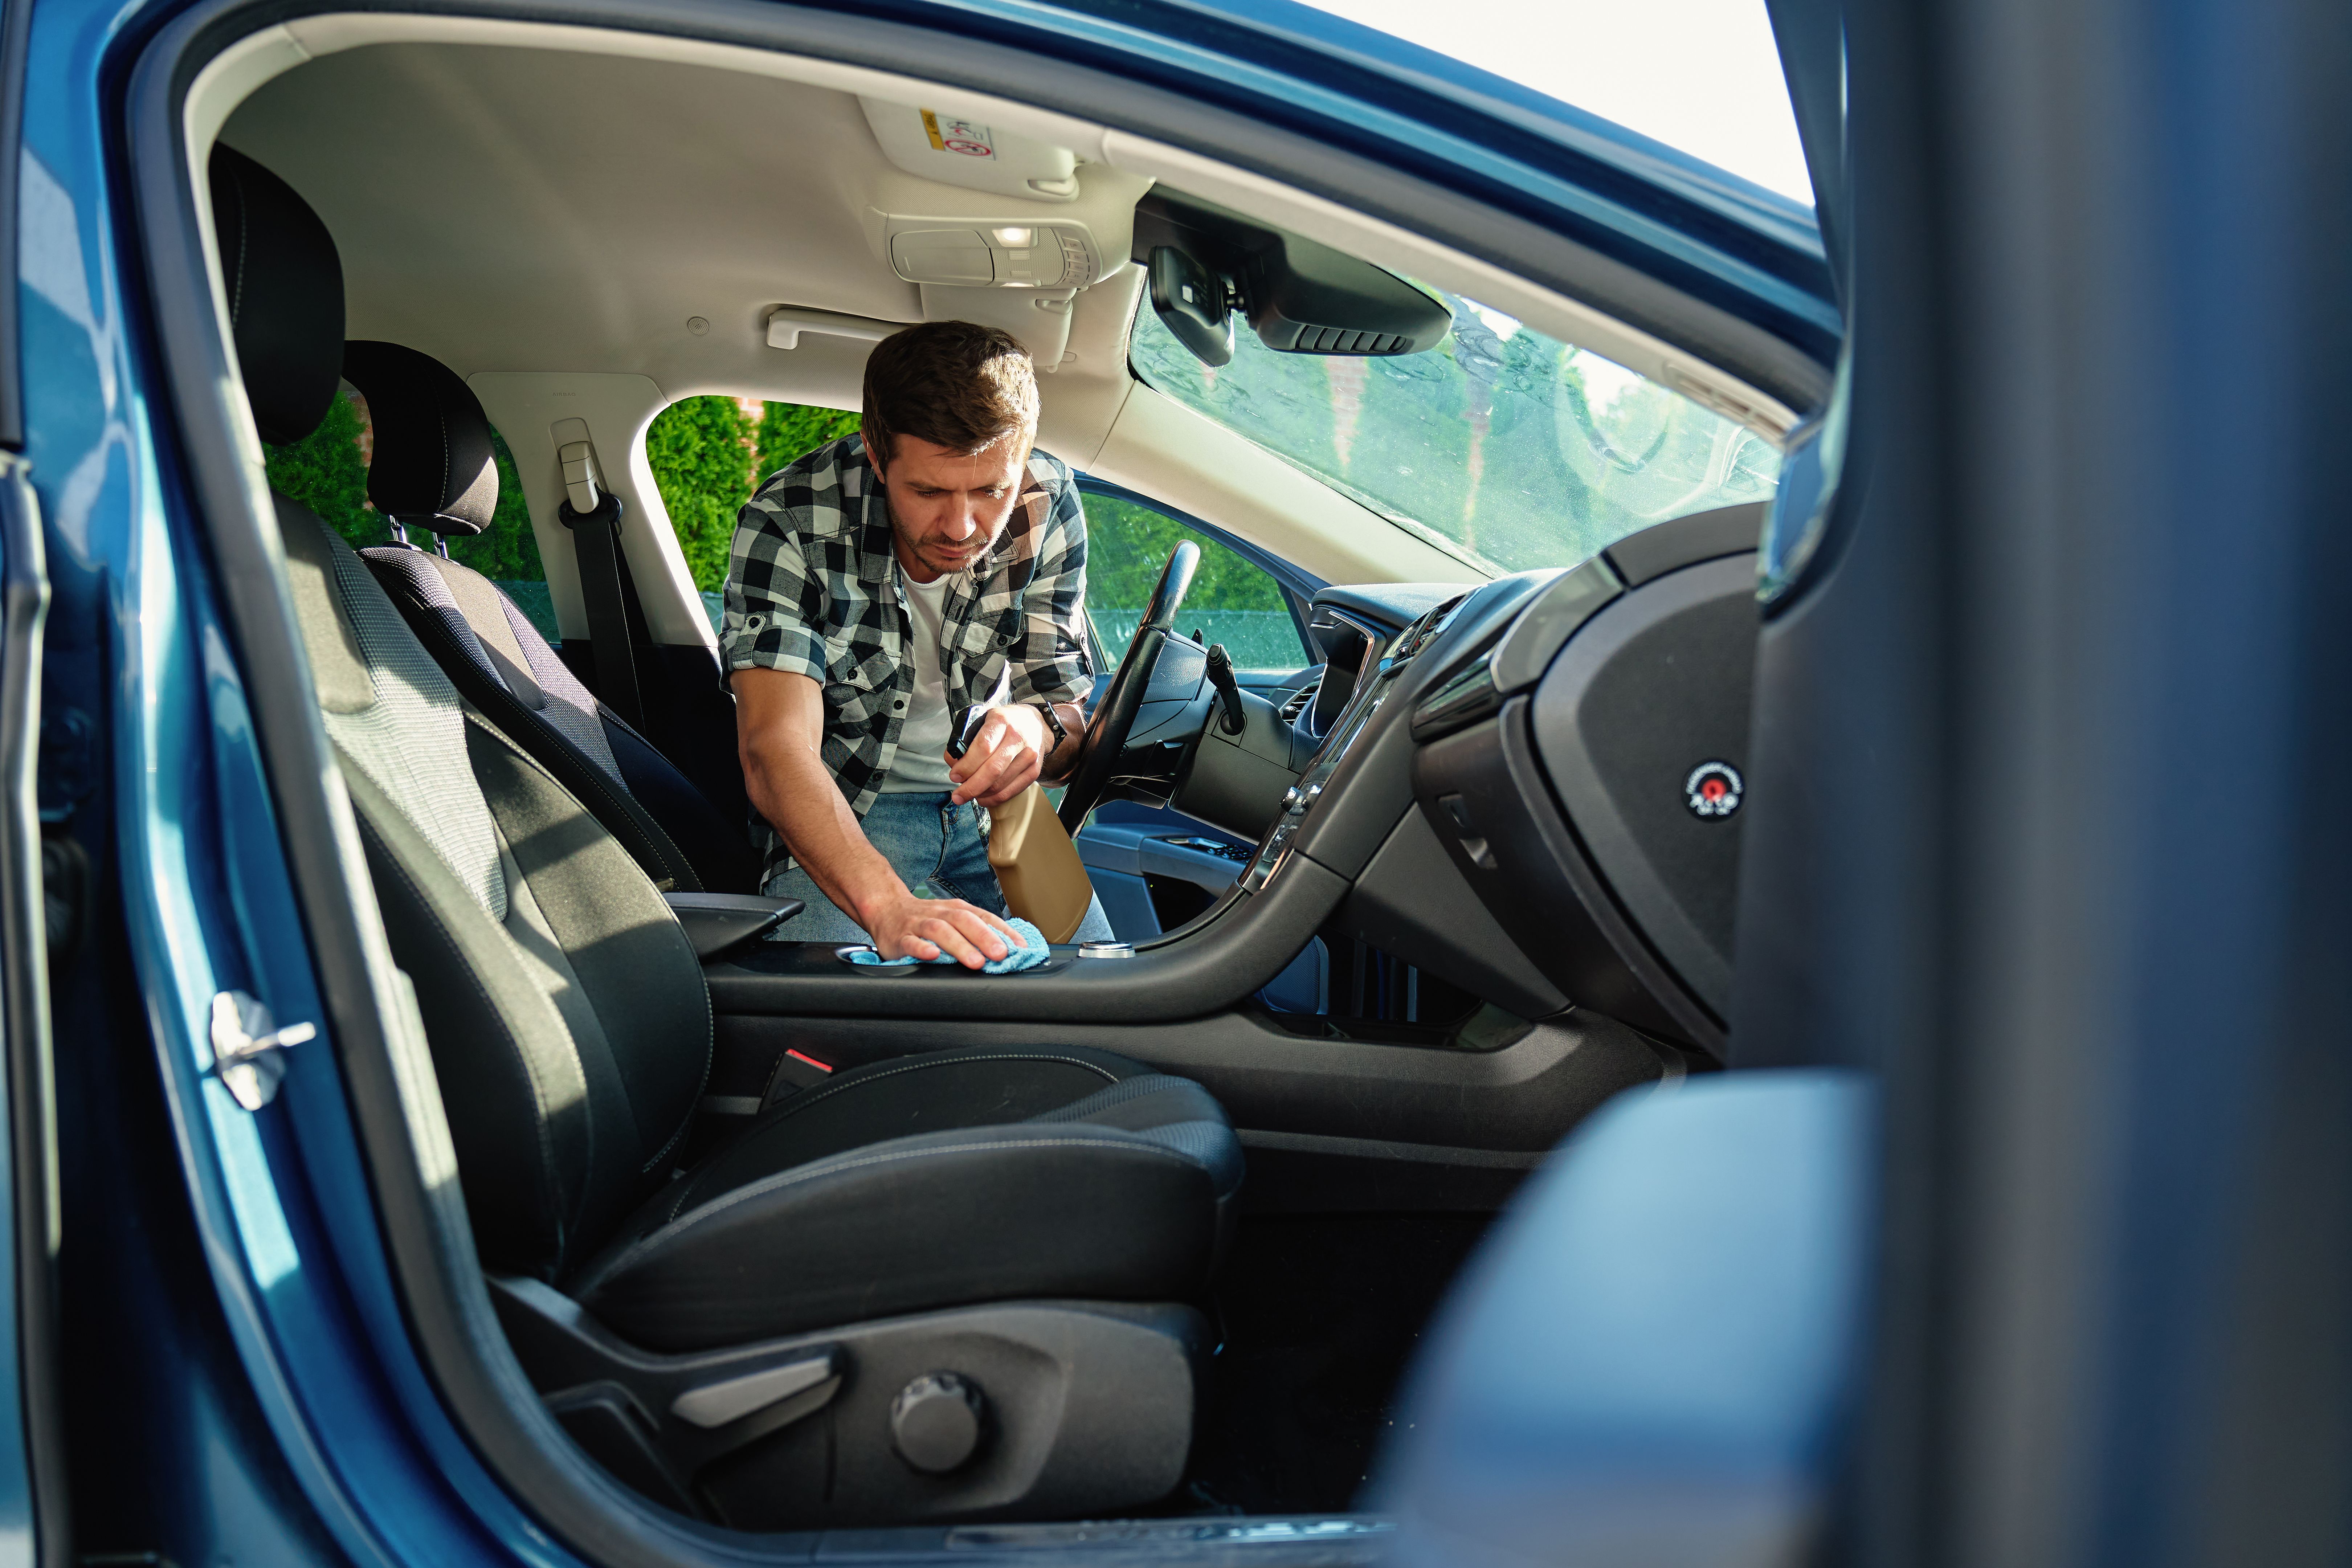
Preparing the Surface
Proper preparation is key to achieving a seamless touch-up. Begin by cleaning the area around the scratch or chip with rubbing alcohol to remove any dirt, wax, or grease. This ensures that the paint adheres well to the surface.
Once the area is clean, gently sand the damaged spot with fine-grit sandpaper. This step helps to smooth out any rough edges and allows the paint to blend better with the surrounding area. Be careful not to sand too aggressively, as this can cause additional damage.
Applying the Touch-Up Paint
Now that the surface is prepared, it’s time to apply the touch-up paint. Shake the paint bottle thoroughly and use a small brush or applicator to carefully fill in the scratch or chip. Apply the paint in thin layers, allowing it to dry between coats. This technique helps to build up the paint gradually and prevents drips or sags.
Once the color is even with the surrounding paint, let it dry completely. This may take a few hours, depending on the paint used and the ambient temperature.
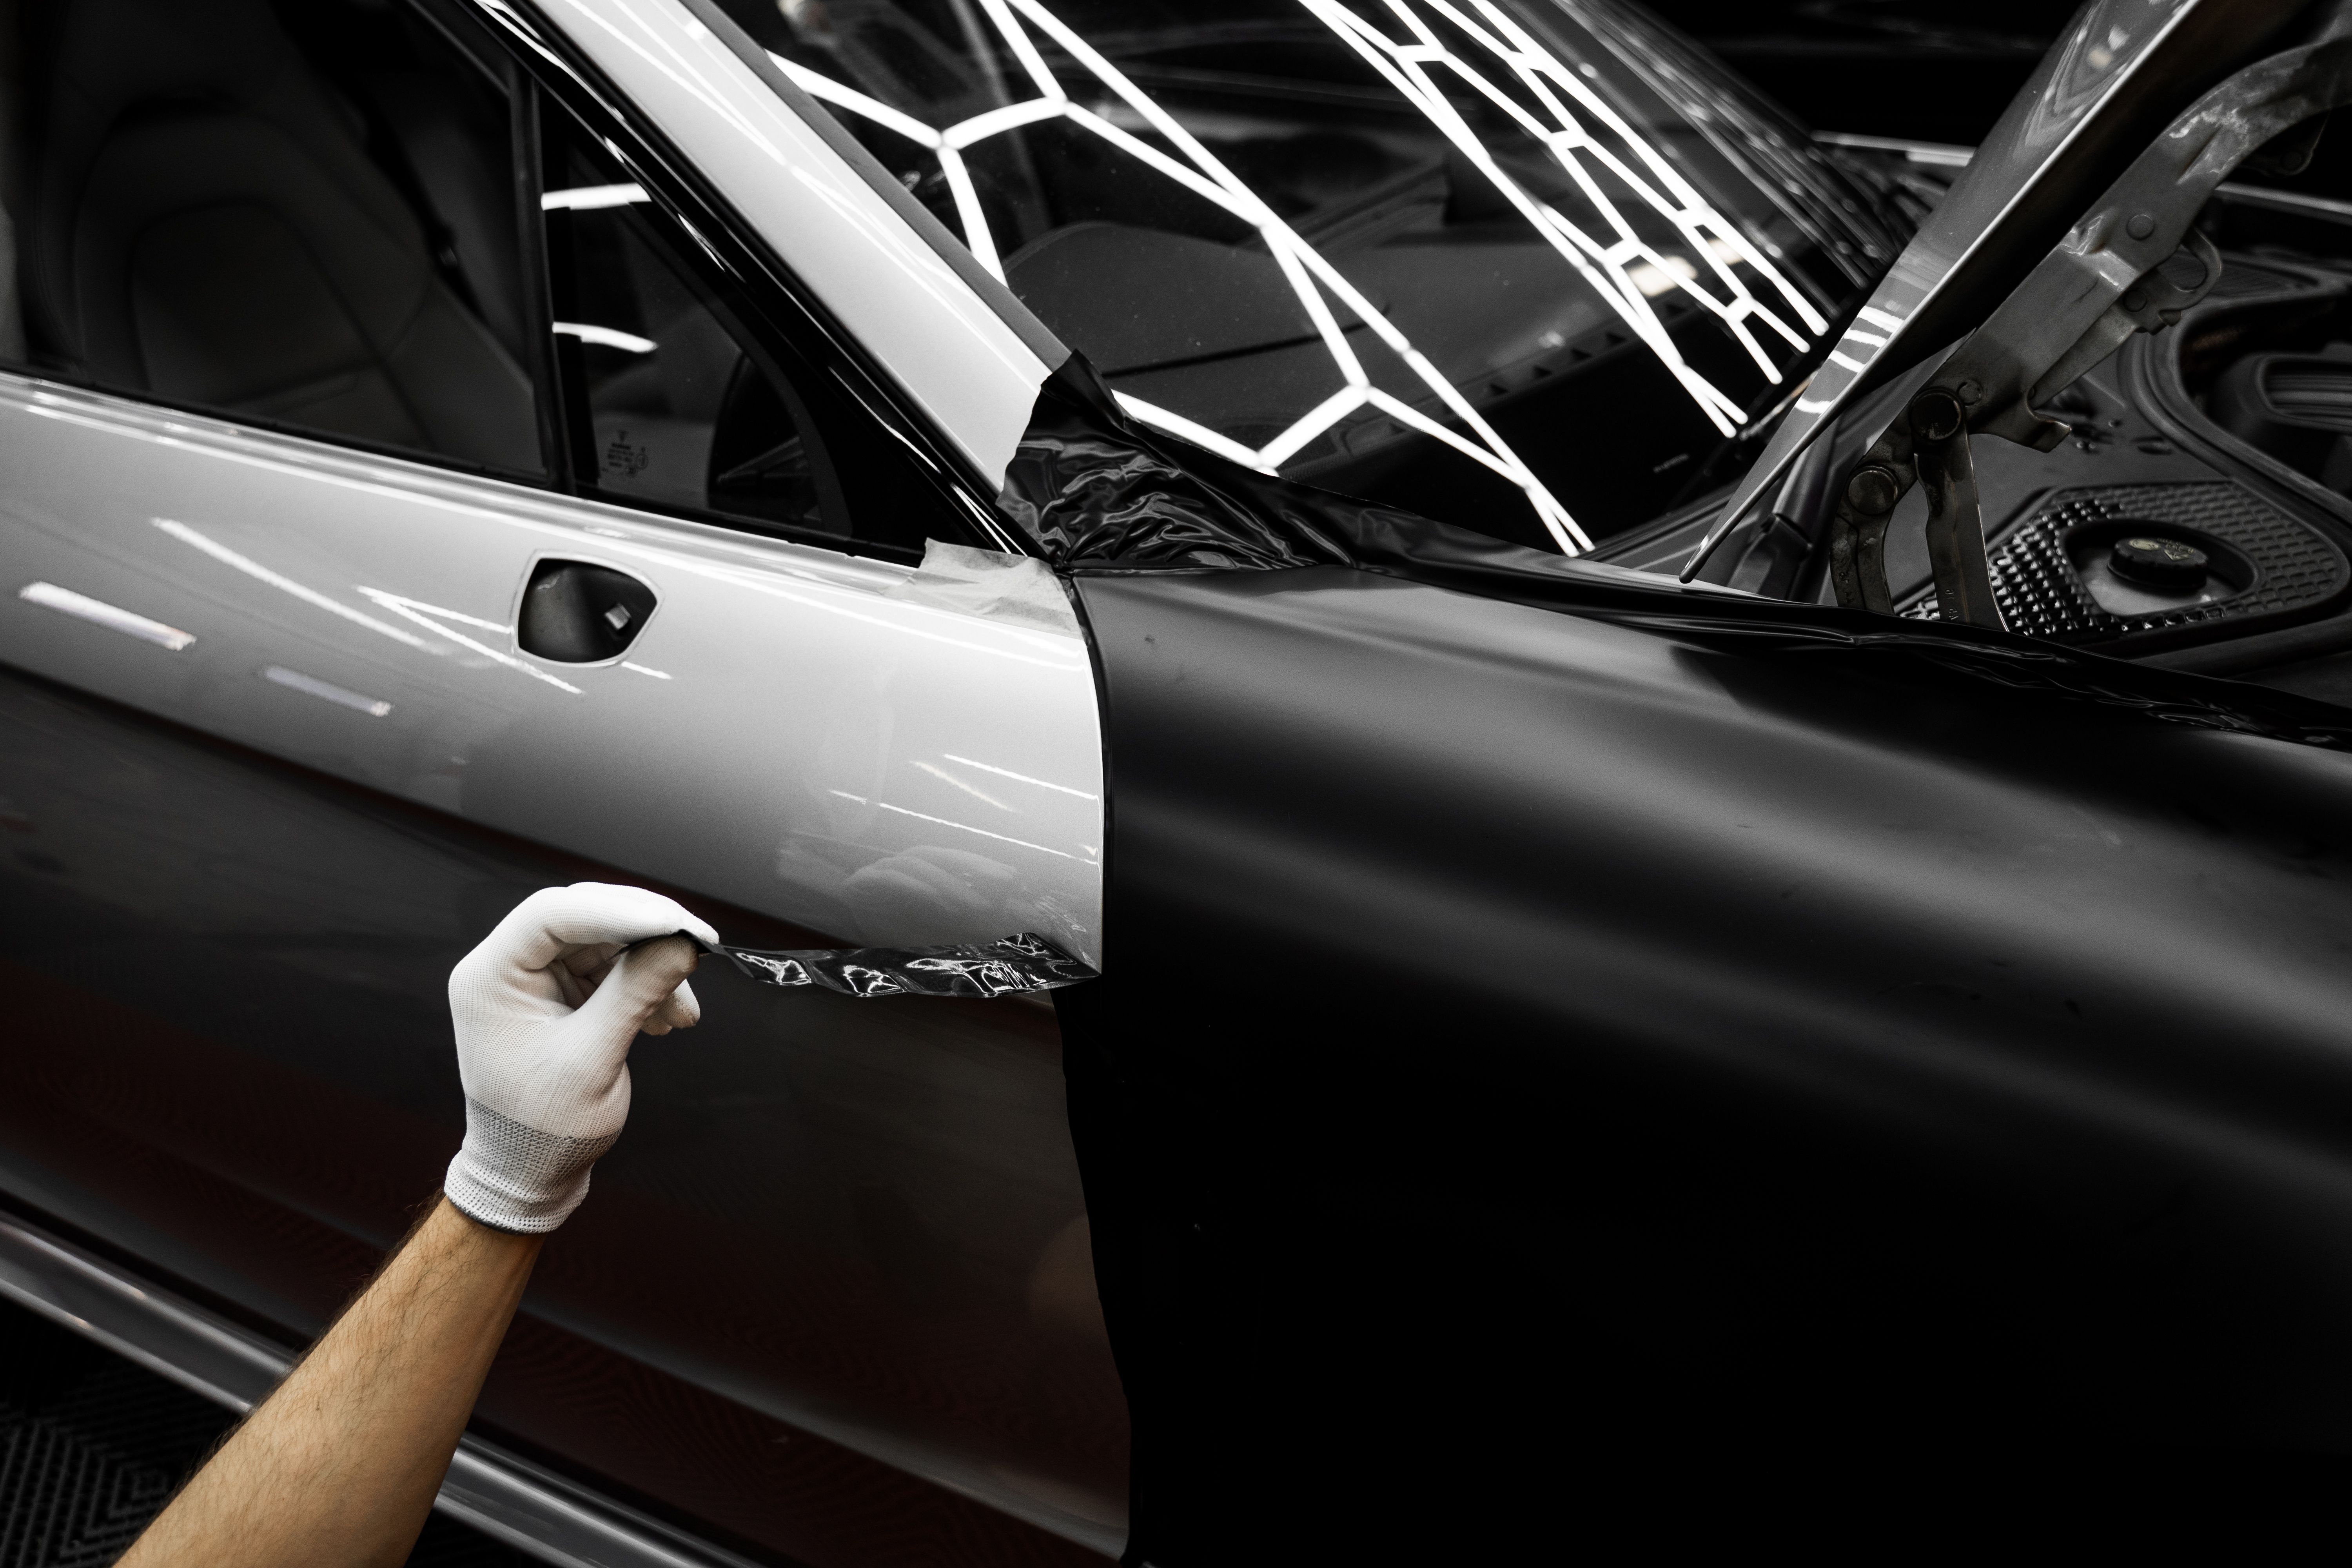
Sealing with Clear Coat
After the touch-up paint has dried, apply a layer of clear coat to seal and protect the repair. The clear coat adds a glossy finish that matches the rest of the car's paint and shields the area from UV rays and environmental elements. Again, apply in thin layers and allow each layer to dry completely.
Once finished, your car should look as good as new, with the scratch or chip barely noticeable. Regular maintenance and care can help keep your vehicle looking pristine for years to come.
Final Tips for Success
Here are a few additional tips to ensure a successful DIY car paint touch-up:
- Work in a dust-free environment to prevent particles from sticking to the wet paint.
- Use a hairdryer or heat lamp to speed up drying times, but be cautious of overheating.
- Test the touch-up paint on a hidden area to ensure a perfect color match before applying it to the visible damage.
By following these steps and tips, you can effectively manage minor repairs and maintain the aesthetic appeal of your vehicle. With a little patience and attention to detail, your car will continue to shine on the road.