
DIY Car Paint Touch-Ups: Tips from the Pros


Maintaining the appearance of your car is essential not just for aesthetics but also for preserving its value. Over time, minor scratches and chips can accumulate, making your vehicle look worn. Fortunately, DIY car paint touch-ups can help you restore your car's exterior without a hefty price tag. Here are some tips from the pros to get you started.
Gather the Right Tools and Materials
Before diving into a DIY paint project, ensure you have the necessary tools and materials. You'll need sandpaper, a clean cloth, rubbing alcohol, primer, matching paint, and a clear coat. Having the right items on hand will make the process smoother and more efficient.
It's crucial to ensure the paint you choose matches your car's color. You can find the paint code in your vehicle's manual or on a sticker inside the driver’s door jamb. This code ensures you get an exact match, preventing any noticeable differences.
Preparing the Surface
Proper preparation is key to a successful paint touch-up. Begin by cleaning the area with soapy water to remove dirt and grime. Once clean, dry the spot thoroughly. Use sandpaper to gently smooth the damaged area, feathering the edges to blend with the surrounding paint.
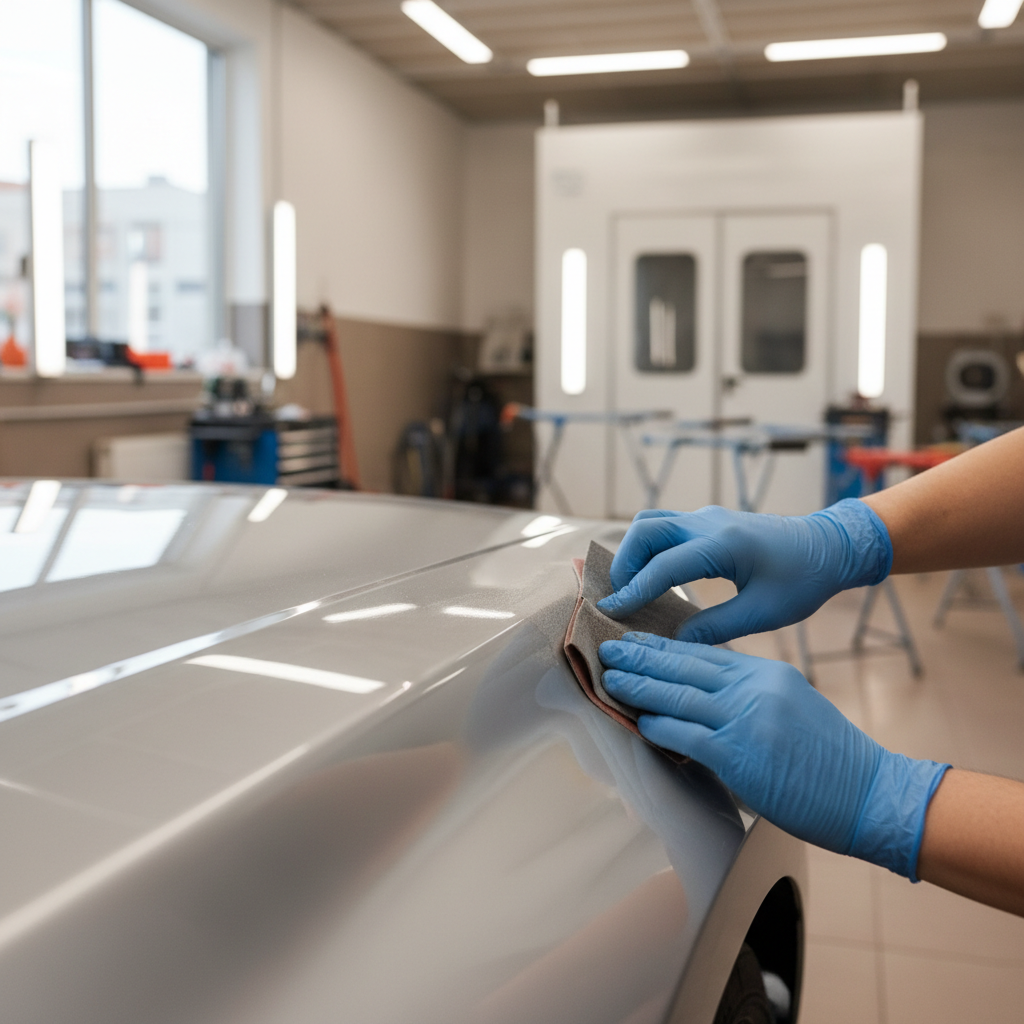
After sanding, wipe the area with a cloth dampened with rubbing alcohol. This step removes any remaining dust and oils, ensuring the paint adheres properly.
Applying the Primer and Paint
Once the surface is prepped, it’s time to apply the primer. Use a small brush to apply a thin layer of primer to the sanded area. Allow it to dry completely before proceeding to the next step.
Next, apply the matching paint color in thin, even layers. It’s better to apply several thin coats than one thick coat, as this helps prevent drips and unevenness. Allow each coat to dry thoroughly before applying the next.
Finishing with a Clear Coat
After the paint has dried, apply a clear coat to protect the new paint and give it a glossy finish. Like the paint, apply the clear coat in thin layers, allowing each one to dry before adding another. This step helps blend the touch-up with the existing paint.
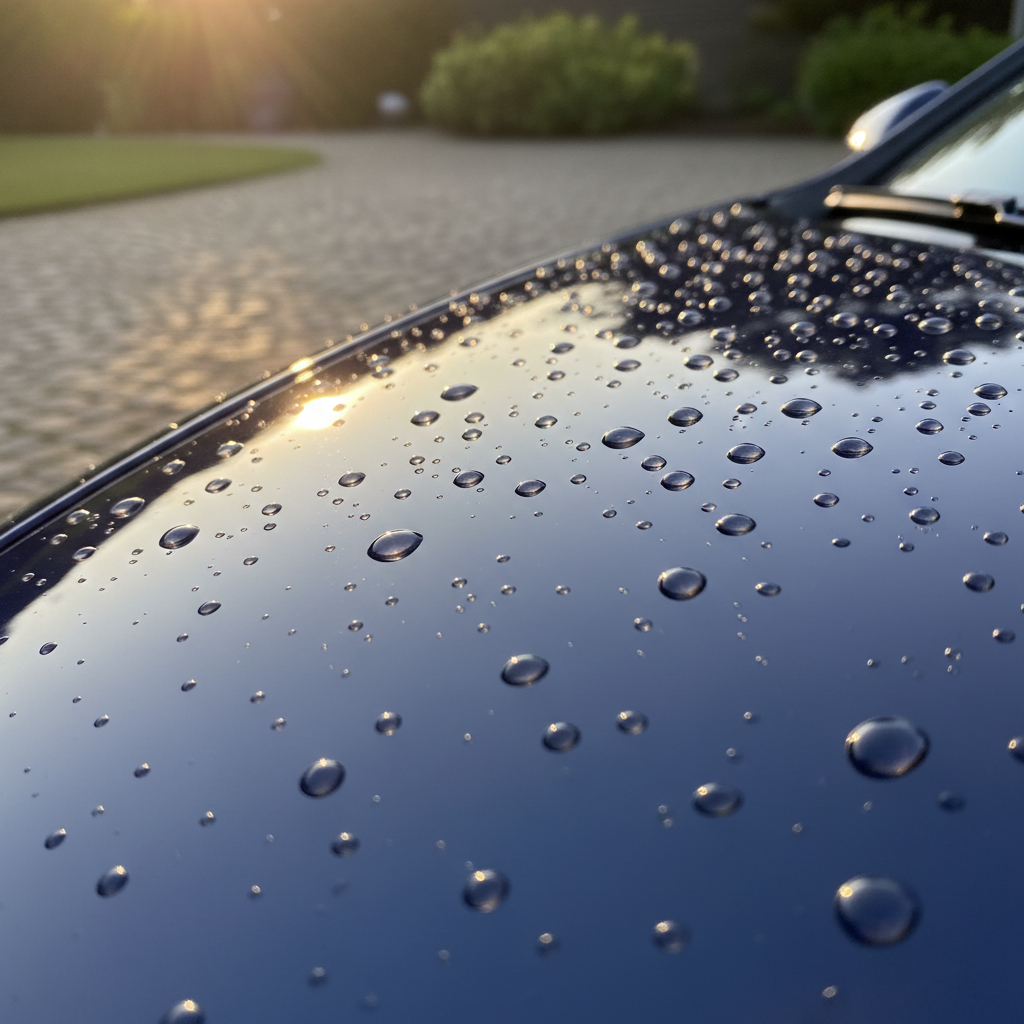
Once the clear coat is dry, you can gently buff the area with a soft cloth to enhance the shine. This final touch ensures your touch-up blends seamlessly with the rest of your car.
Additional Tips and Tricks
Here are a few extra tips to ensure your DIY touch-up is a success:
- Work in a well-ventilated area to avoid inhaling fumes.
- Test the paint on a hidden area to ensure a perfect match.
- Avoid painting in direct sunlight or on windy days to prevent debris from sticking to the wet paint.
With these professional tips and a bit of patience, you can achieve a flawless car paint touch-up that restores your vehicle's appearance and maintains its value.